

Every screen looks the same
Every screen has the same three parts, so once you know one you know them all: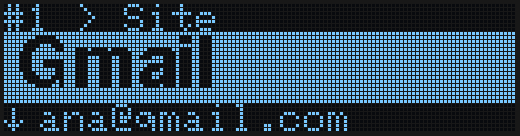
The moves
Think of it as dragging the screen, like on a phone: when you swipe right to left, the next account slides in from the right. On the few screens with a cursor — the on-device editor, the 2FA date and time, the search — the cursor simply follows your finger.
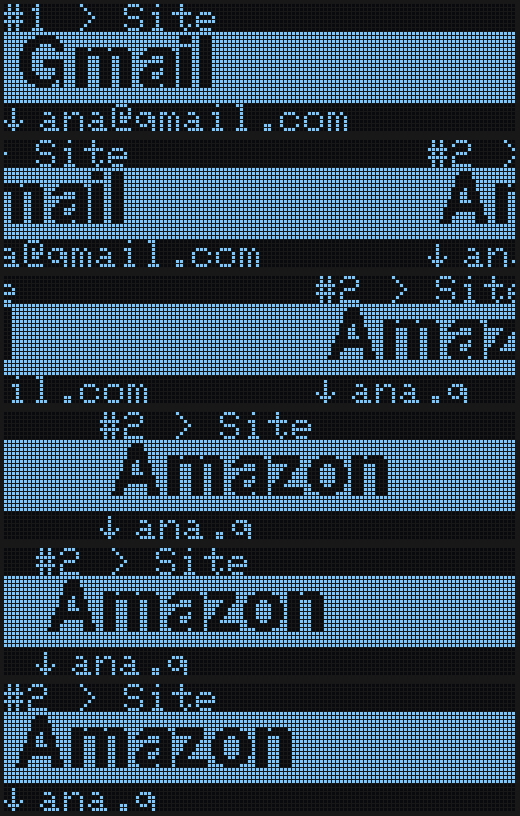
Nothing changes without moving
Whatever changes slides in the direction of your finger: the next field rises from below, the next account comes in from the right. Only the part that changes moves — the top row stays still.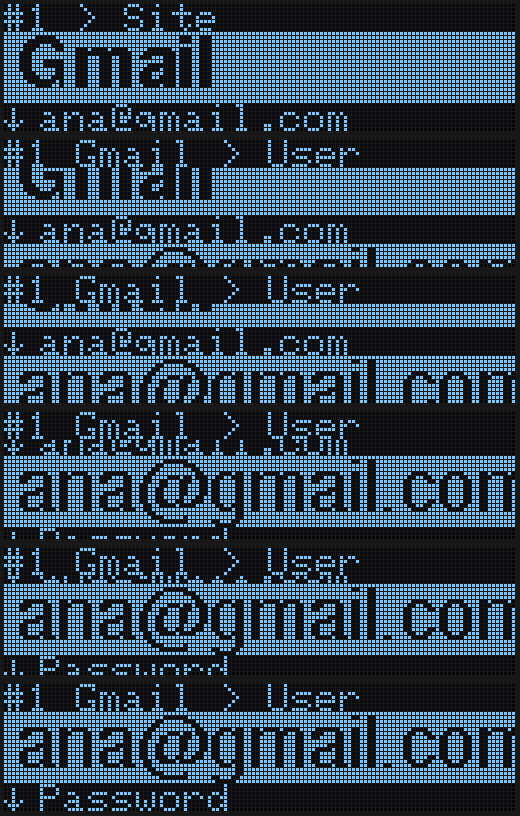
Keep your finger down
- In lists (the menu, the PIN wheel), swipe and keep your finger on the last dot to keep moving.
- On your accounts, swipe sideways and keep your finger down to jump 10 accounts at once.
Touched a single edge dot?
Touching only an edge dot does nothing — it would be too easy to do by accident. Instead, a small picture appears showing the swipe that does what you wanted.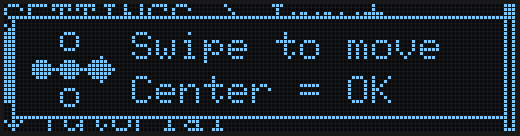
Entering the PIN
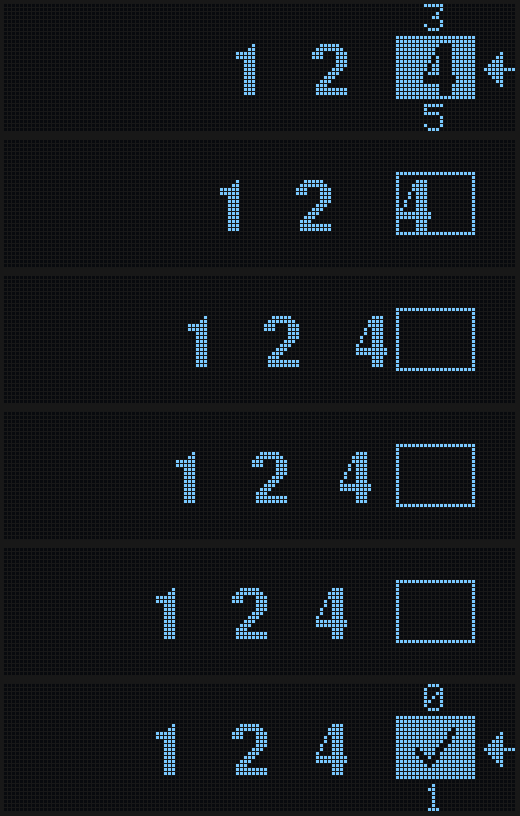
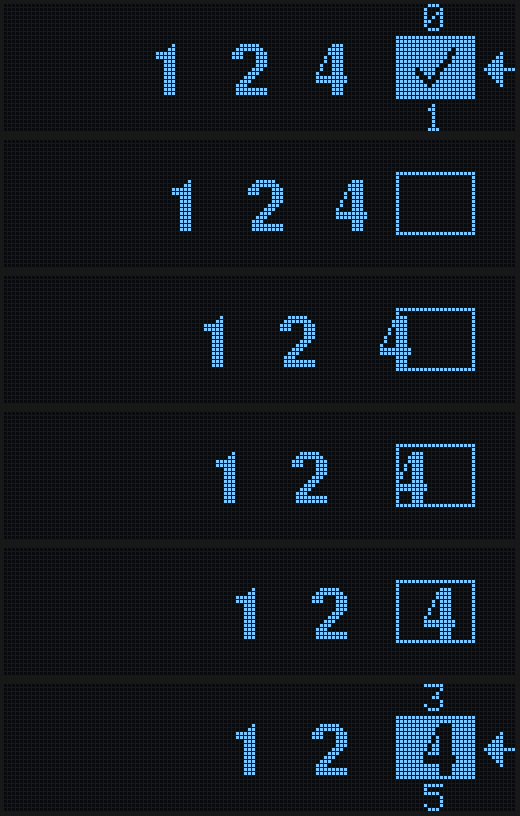
The PIN screen follows the same rules. On the right there is a wheel: the selected number is lit, with the one before it above and the next one below. The digits you have entered sit to its left.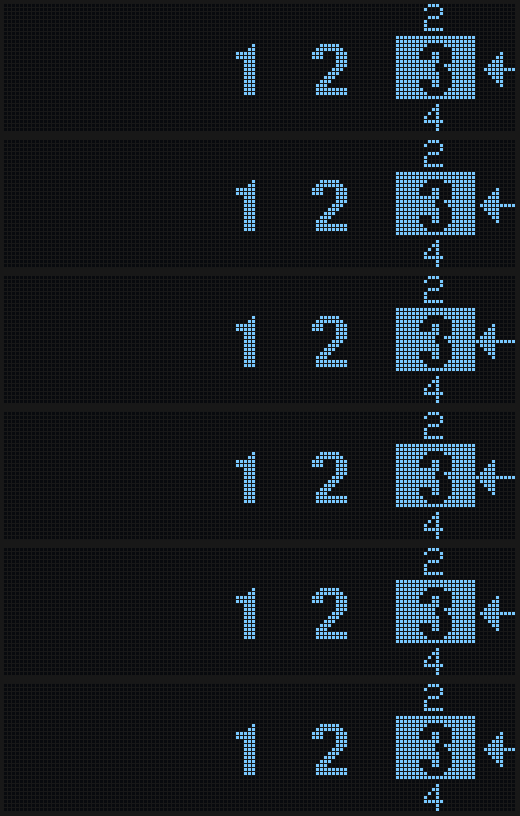
| Add a number | Erase the last one |
|---|---|
 |  |
The tutorial
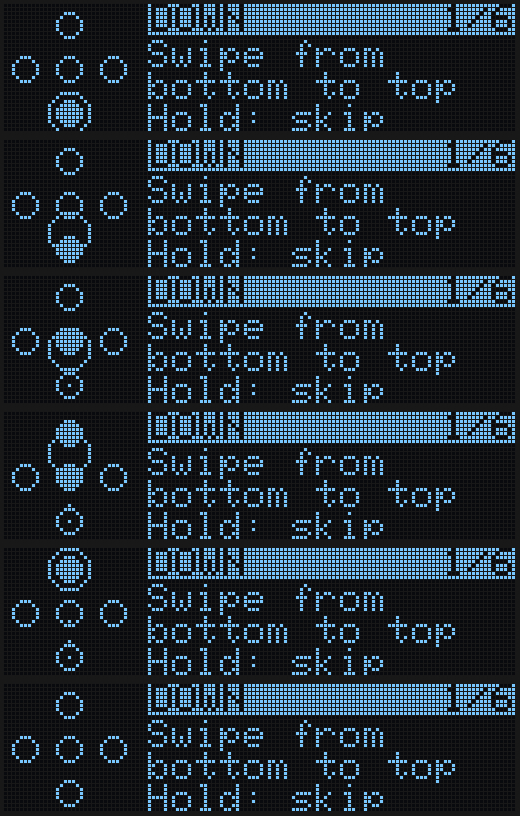
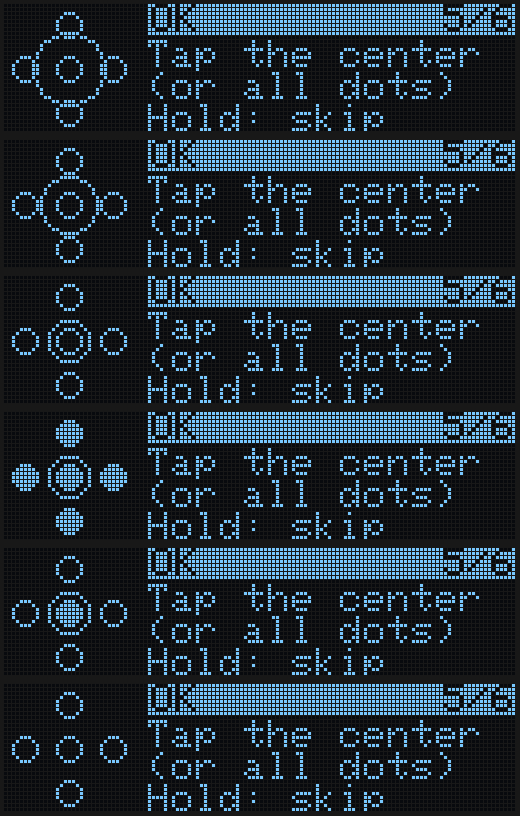
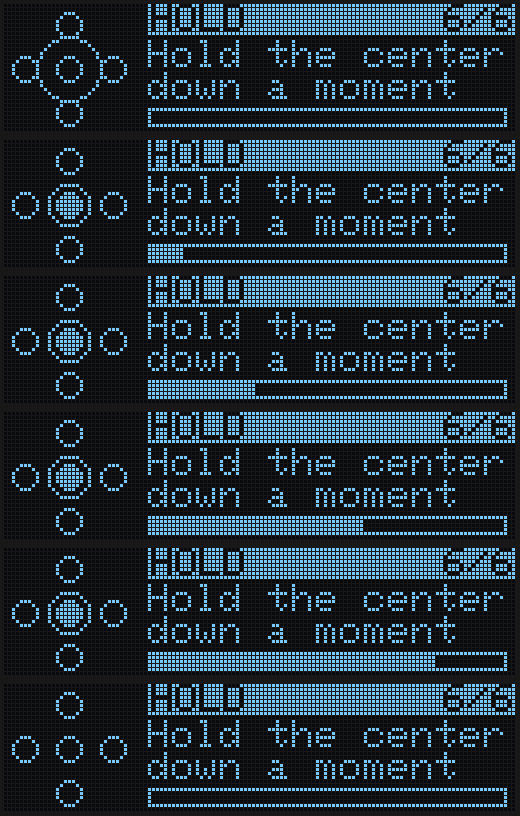
The first time you set up the device, a short animated tutorial teaches each move: it shows the swipe, waits for you to do it and says Great! when you get it right. Hold the centre to skip a lesson. You can replay it any time from Menu → Settings → Tutorial.| Lesson | Tap | Hold |
|---|---|---|
 |  |  |
Buttons or Gestures
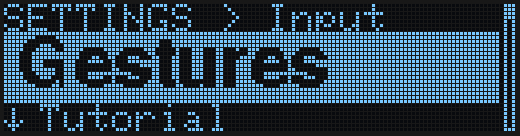
Menu → Settings → Control switches between:- Gestures (default): everything described on this page.
- Buttons: the classic way — each dot is a button you press (Up, Down, Left, Right, Centre). The screens and the menus are the same; on the PIN screen the arrow points at the Right dot, which adds the number.
Right- or left-handed
Menu → Settings → Hand turns the screen round so you can hold the device with the dots on either side (Right-handed is the default). The moves stay the same for your finger: “up” is always towards the top of the screen as you read it.Next steps
Initial setup
The 7 steps you see the first time you plug the device in.
Navigate the menu
Tools, Settings, Danger Zone and Info.
How the touch input works
Technical detail: how swipes are recognised (Software section).